

SUPPORT / PRODUCT CARE
TROUBLESHOOTING
Identify common issues, perform safe user-level checks and understand the codes shown on your INNODIGYM display.
01 / PRODUCT GUIDES
Guides by product
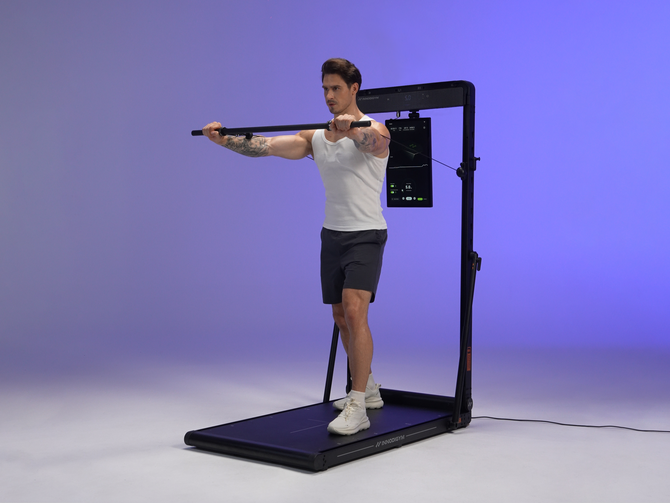
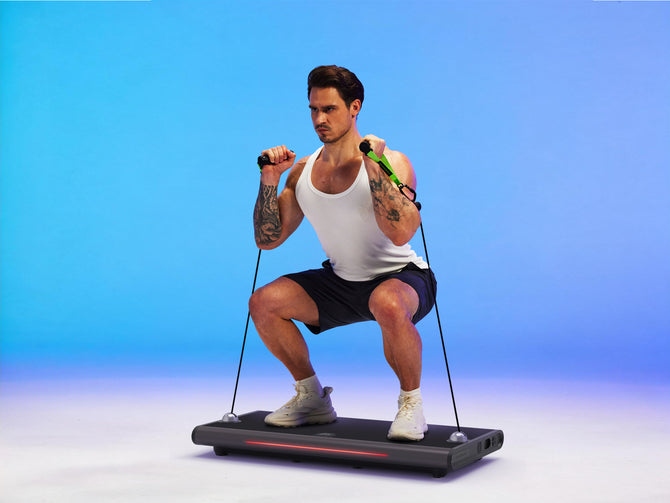
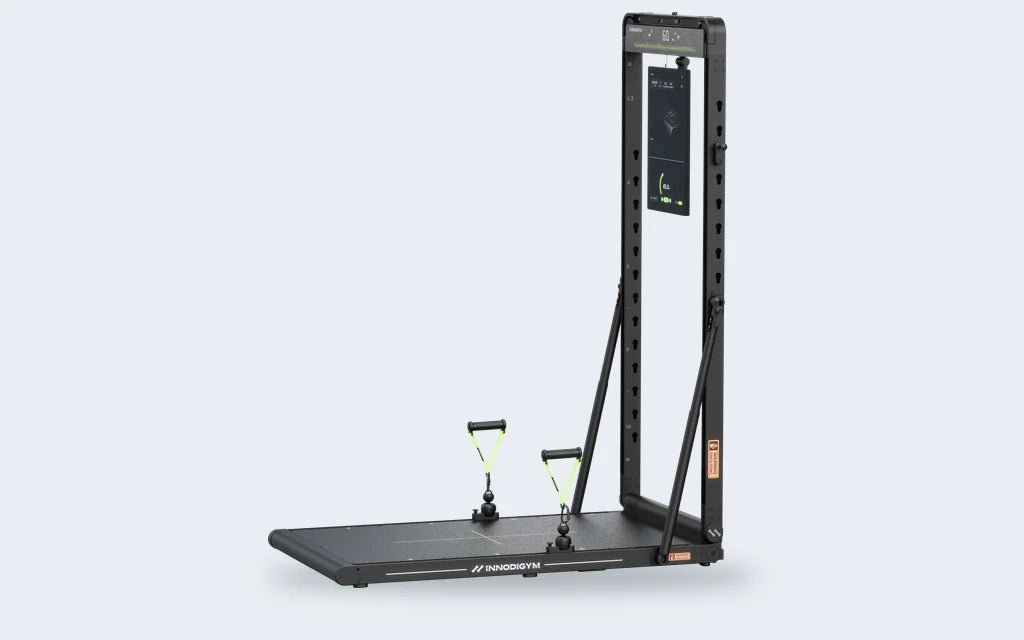
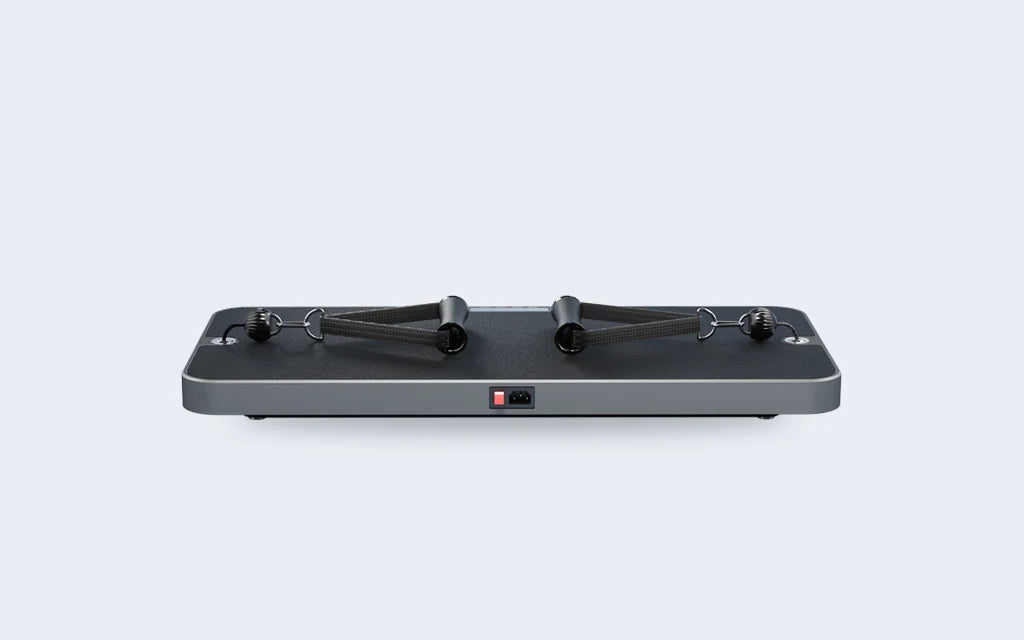
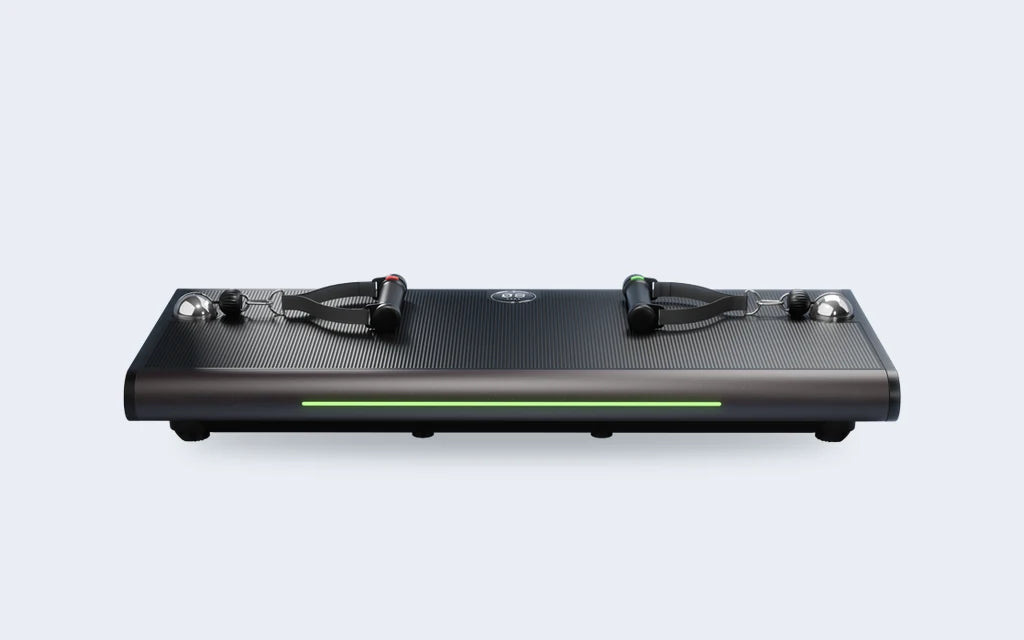
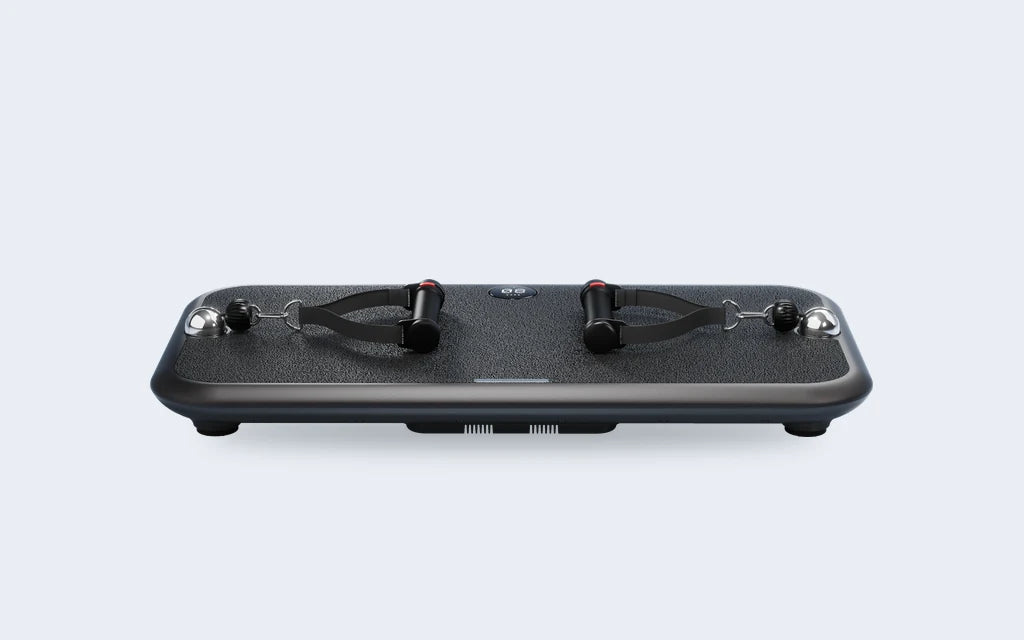
Pick your product for setup videos and quick fixes. OMNI X1 Pro checks and fault codes live further down this page.
02 / USER-LEVEL CHECKS
Common checks
Start with the recommended checks below. Never open the housing or repair internal electrical components yourself.
| Problem | Possible cause | What to check / solution |
|---|---|---|
| Product does not power on | External power source has no power | Check that the power cord is fully connected and that the external power source is working. |
| Main Power Switch is not turned on | Turn on the Main Power Switch. The switch indicator should light when power is supplied. |
|
| Plug or connector is not fully inserted | Check that the plug and connector are correctly inserted. |
|
| Power cord is damaged or short-circuited | Visually check the power cord for cuts, damage or compression marks. Qualified service personnel may test continuity with a multimeter. |
|
| Power connection at the Main Power Switch is loose | Check whether the power connection at the Main Power Switch is loose. Reconnect it securely if necessary. |
|
| Main Power Switch is faulty | If the power source, power cord and connections are normal but the switch indicator does not light, contact Customer Support. |
|
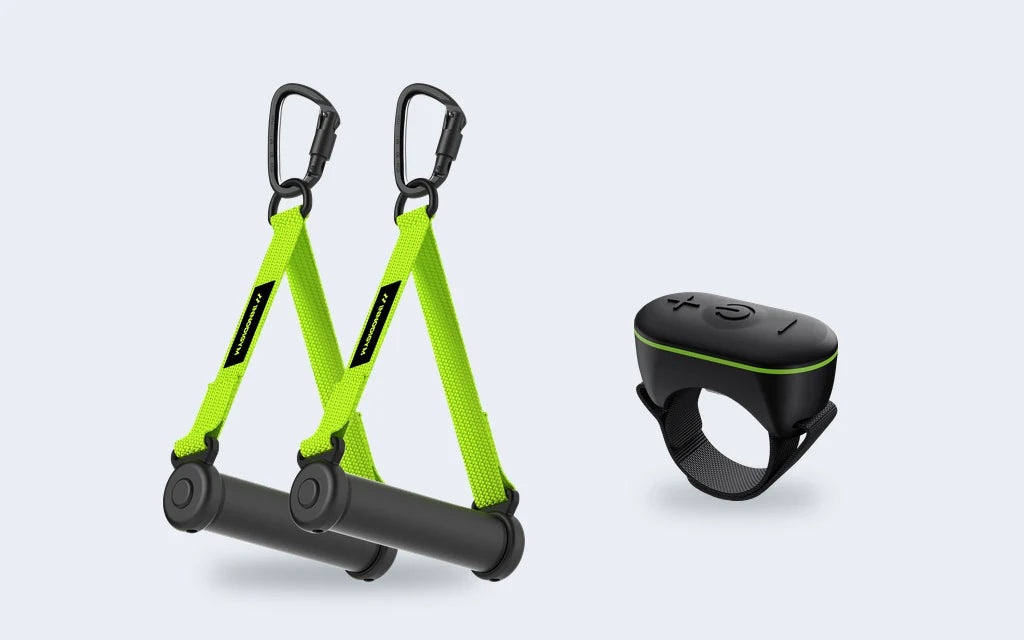
| Smart Handles or Smart Control Button do not work | Batteries are not installed | Install one supplied AAA battery in each Smart Handle. For the Smart Control Button, remove the battery insulation tab before first use. |
| Batteries are installed incorrectly | Remove the batteries and reinstall them according to the polarity markings. |
|
| Accessory is not paired | Turn off the product. Press and hold any button on the Smart Handles or Smart Control Button, then turn on the product power switch to pair. |
|
| Battery is depleted | If one accessory works normally but another does not, replace the battery in the non-functioning Smart Handle or Smart Control Button. |
|
| Smart Handle or Smart Control Button is faulty | If the accessory still does not work after battery replacement, contact Customer Support. |
|
| Bluetooth Module is faulty | If the app and all wireless accessories cannot connect after battery replacement, contact Customer Support or authorized service personnel. |
|
| Display Panel does not light up | Product does not power on | Turn on the Main Power Switch. If the Display Panel still does not light up, check the “Product does not power on” section above. |
| Display cable is not connected | If buttons, indicators and product functions are normal but the Display Panel does not light up, check whether the display cable is connected. |
|
| Upper Training Frame cannot unfold or lock | Gas Spring Lock Release Levers are not fully opened | Make sure both Gas Spring Lock Release Levers are fully rotated to the unlocked position before unfolding or folding. |
| Gas Spring is faulty | If the Gas Spring Locks are locked but the Upper Training Frame cannot be secured under load, stop using the product and contact Customer Support. |
|
| Noise during use | Normal motor current hum during startup | A humming sound after pressing the Start button is normal motor current sound. |
| Normal cooling fan sound | The cooling fan may turn on after use. This is normal heat-dissipation sound. |
|
| Normal rope / pulley movement sound | Light rustling or friction noise from rope and pulley movement is normal during use. |
01 Product does not power onExternal power source has no power
Check that the power cord is fully connected and that the external power source is working.
02 Product does not power onMain Power Switch is not turned on
Turn on the Main Power Switch. The switch indicator should light when power is supplied.
03 Product does not power onPlug or connector is not fully inserted
Check that the plug and connector are correctly inserted.
04 Product does not power onPower cord is damaged or short-circuited
Visually check the power cord for cuts, damage or compression marks. Qualified service personnel may test continuity with a multimeter.
05 Product does not power onPower connection at the Main Power Switch is loose
Check whether the power connection at the Main Power Switch is loose. Reconnect it securely if necessary.
06 Product does not power onMain Power Switch is faulty
If the power source, power cord and connections are normal but the switch indicator does not light, contact Customer Support.
07 Smart Handles or Smart Control Button do not workBatteries are not installed
Install one supplied AAA battery in each Smart Handle. For the Smart Control Button, remove the battery insulation tab before first use.
08 Smart Handles or Smart Control Button do not workBatteries are installed incorrectly
Remove the batteries and reinstall them according to the polarity markings.
09 Smart Handles or Smart Control Button do not workAccessory is not paired
Turn off the product. Press and hold any button on the Smart Handles or Smart Control Button, then turn on the product power switch to pair.
010 Smart Handles or Smart Control Button do not workBattery is depleted
If one accessory works normally but another does not, replace the battery in the non-functioning Smart Handle or Smart Control Button.
011 Smart Handles or Smart Control Button do not workSmart Handle or Smart Control Button is faulty
If the accessory still does not work after battery replacement, contact Customer Support.
012 Smart Handles or Smart Control Button do not workBluetooth Module is faulty
If the app and all wireless accessories cannot connect after battery replacement, contact Customer Support or authorized service personnel.
013 Display Panel does not light upProduct does not power on
Turn on the Main Power Switch. If the Display Panel still does not light up, check the “Product does not power on” section above.
014 Display Panel does not light upDisplay cable is not connected
If buttons, indicators and product functions are normal but the Display Panel does not light up, check whether the display cable is connected.
015 Upper Training Frame cannot unfold or lockGas Spring Lock Release Levers are not fully opened
Make sure both Gas Spring Lock Release Levers are fully rotated to the unlocked position before unfolding or folding.
016 Upper Training Frame cannot unfold or lockGas Spring is faulty
If the Gas Spring Locks are locked but the Upper Training Frame cannot be secured under load, stop using the product and contact Customer Support.
017 Noise during useNormal motor current hum during startup
A humming sound after pressing the Start button is normal motor current sound.
018 Noise during useNormal cooling fan sound
The cooling fan may turn on after use. This is normal heat-dissipation sound.
019 Noise during useNormal rope / pulley movement sound
Light rustling or friction noise from rope and pulley movement is normal during use.
03 / DISPLAY PANEL
Fault codes
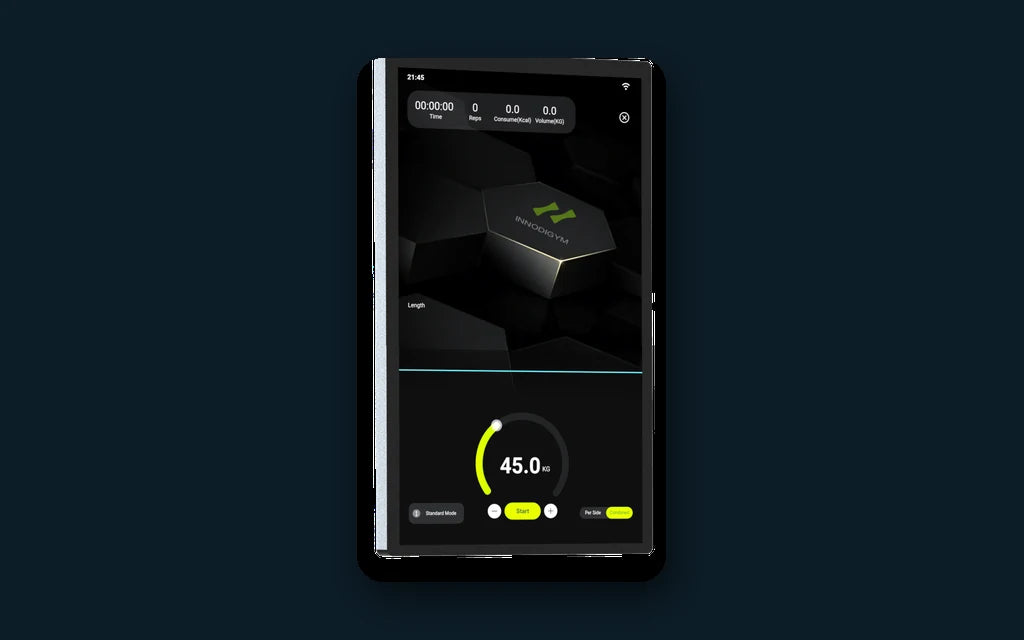
If a fault code appears on the Display Panel, stop training and follow the corresponding user action.
E01
Rope Overspeed Protection
Stop pulling and allow the ropes to retract naturally. The system will recalibrate automatically. Do not pull the ropes during recalibration. Resume training only after recalibration is complete.
E03
Motor Overtemperature Protection
Stop training and release the load. Keep the product powered on in standby so the internal fans can continue cooling the motor. Make sure all ventilation openings are clear. Resume use only after the code clears. If it appears repeatedly, contact Customer Support.
E04
IPM Overtemperature Protection
Stop training and release the load. Keep the product powered on in standby so the internal fans can continue cooling the IPM. Keep all ventilation openings clear. Resume use only after the code clears. If it remains or appears repeatedly, contact Customer Support.
E07
Learning / Calibration Error
Stop training and release the load. Make sure the ropes are not under tension and no attachment is being pulled. Allow the ropes to retract fully, then restart the product. Wait for the startup self-check to finish without pulling the ropes. If the code remains, contact Customer Support.
E08
Short-Circuit Protection
Stop using the product immediately. Turn off the power and unplug the power cord. Do not restart repeatedly. Check for liquid exposure, a burning smell, smoke, abnormal heat or visible damage. Contact authorized service personnel. Do not disassemble or repair the product yourself.
E09
Motor Phase Detection Error
Stop using the product. Turn off the power and wait at least 30 seconds. Restart the product once. If the code remains or appears again, stop using the product and contact authorized service personnel.
Still need help? Our support team can guide the next safe step.
CONTACT SUPPORT


